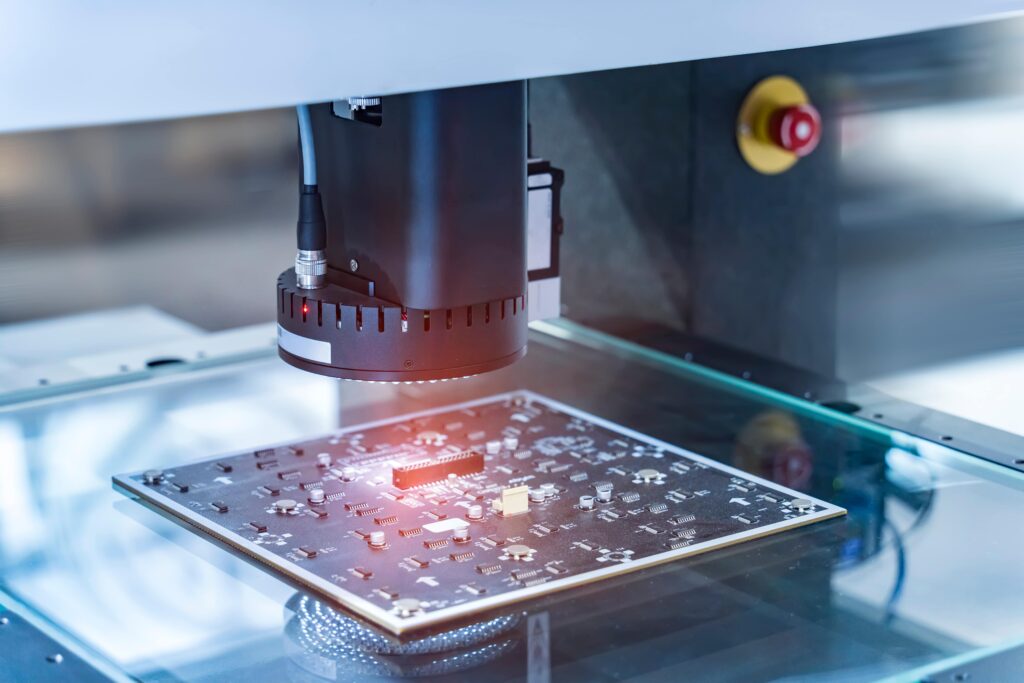
A rule-based system works very reliably under optimal inspection conditions and with constant parts. The situation is different if the parts come out of the machine slightly differently from batch to batch, but are still OK parts. Recalibration can then quickly become time-consuming and costly. It's a different story with AI-based systems like the Maddox AI system. This system can learn that parts can look different and still be OK parts.
In this episode, Hanna Nennewitz does a self-experiment and tests the usability of our AI-based system by trying to create a quality control model herself. Comparatively, she tries to program the same control task with a rule-based system.
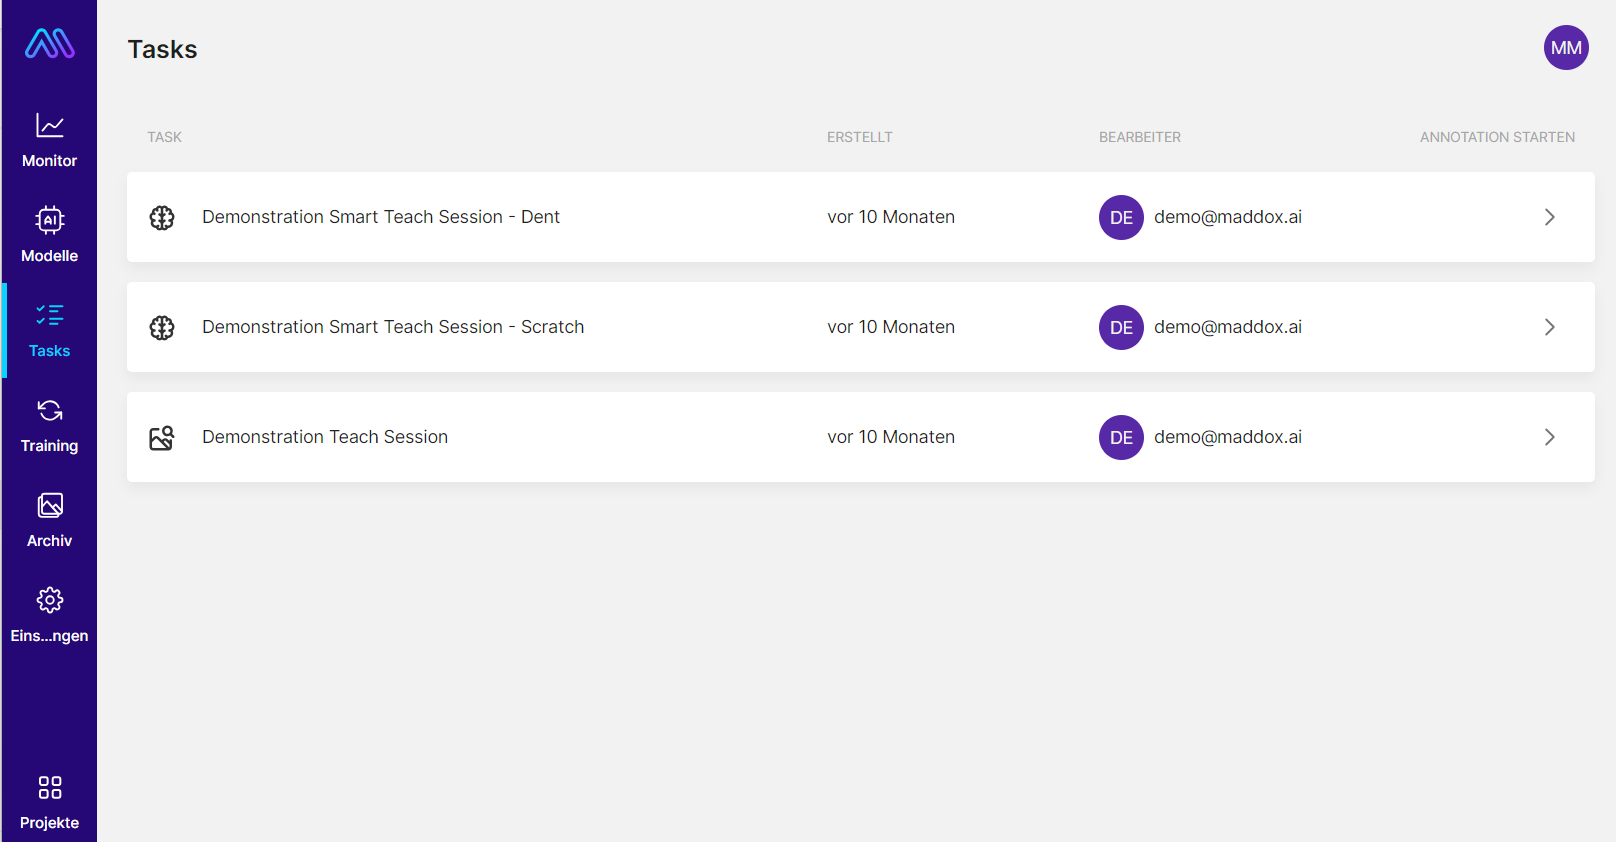
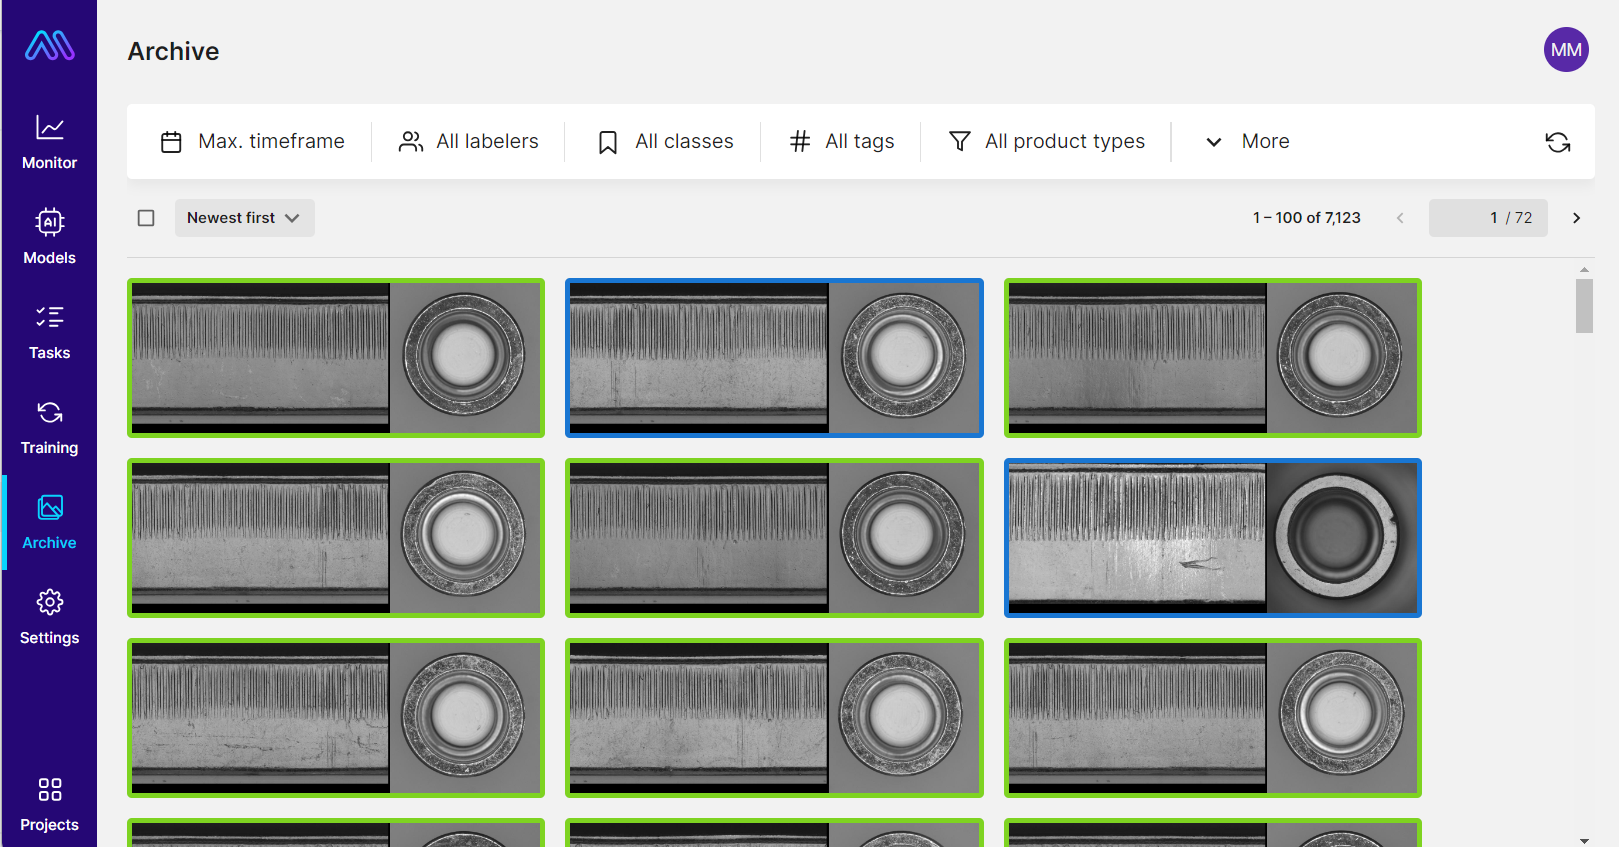
 The first thing I do is test Maddox AI. During a short training session, Behar Veliqi, CTO and co-founder of Maddox AI, shows me how I can use Maddox AI. Behar explains to me that all the tasks I need to do as a Maddox AI customer can be found in the cloud software under the “My Tasks” tab. Then he explains that one basically follows a three-step process when training a model with Maddox AI:
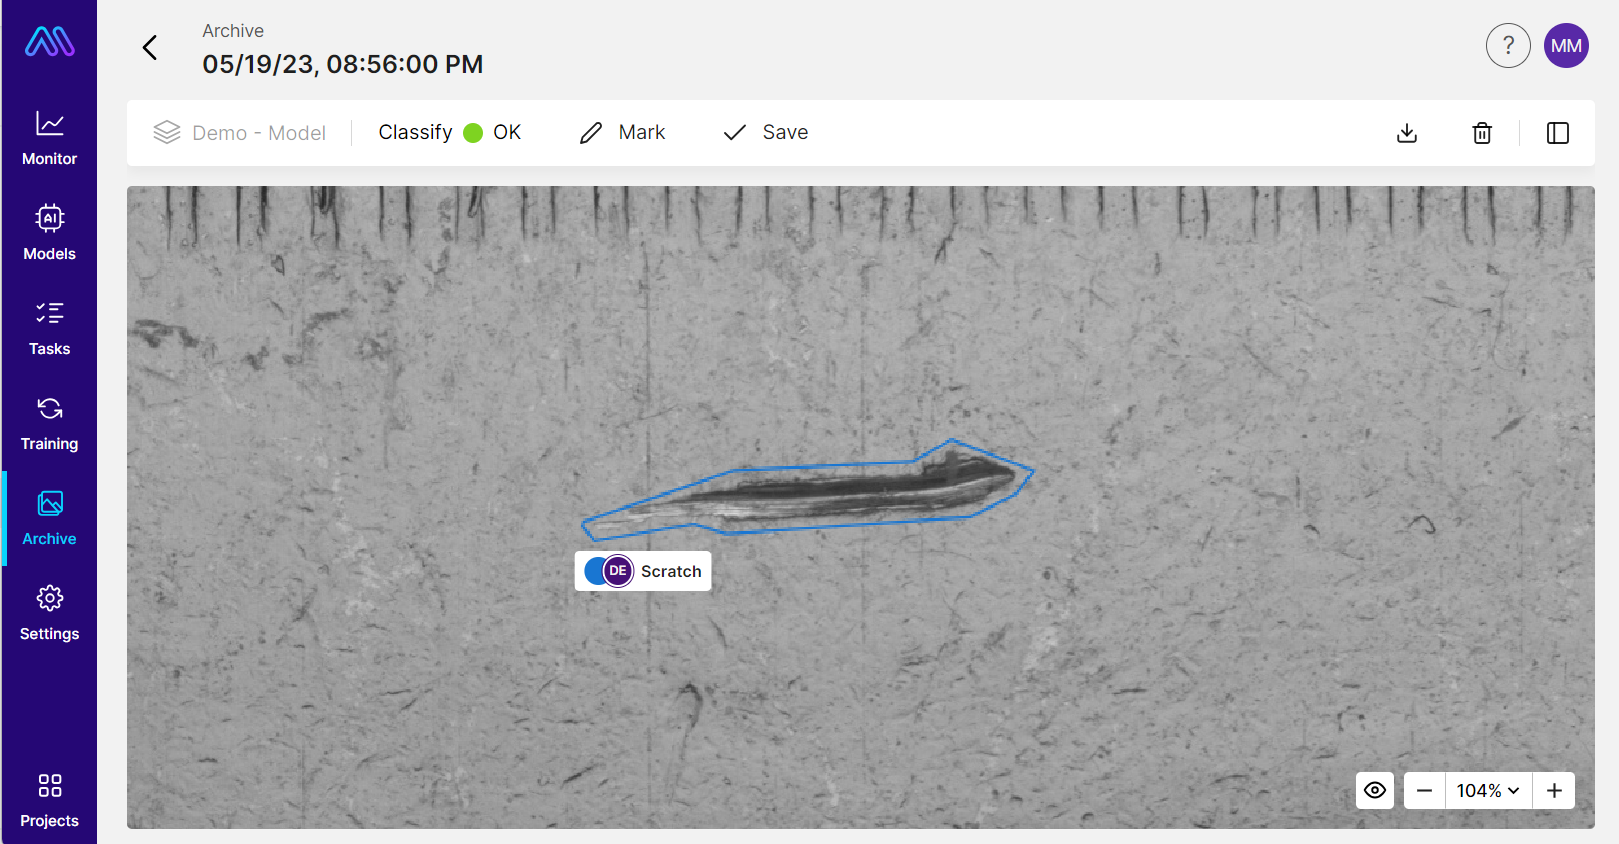
The first step is to mark polygons around the defects on the captured images. The number of images to be annotated varies depending on the use case, so sometimes 5-10 and other times up to 100 images need to be evaluated per defect class. In the second step, the annotated images can be used to start a first training of the AI model. In the third step the fine tuning is done. This involves comparing the model predictions with the human annotations and making any necessary adjustments.
The following video explains the process with the single three steps in more detail:


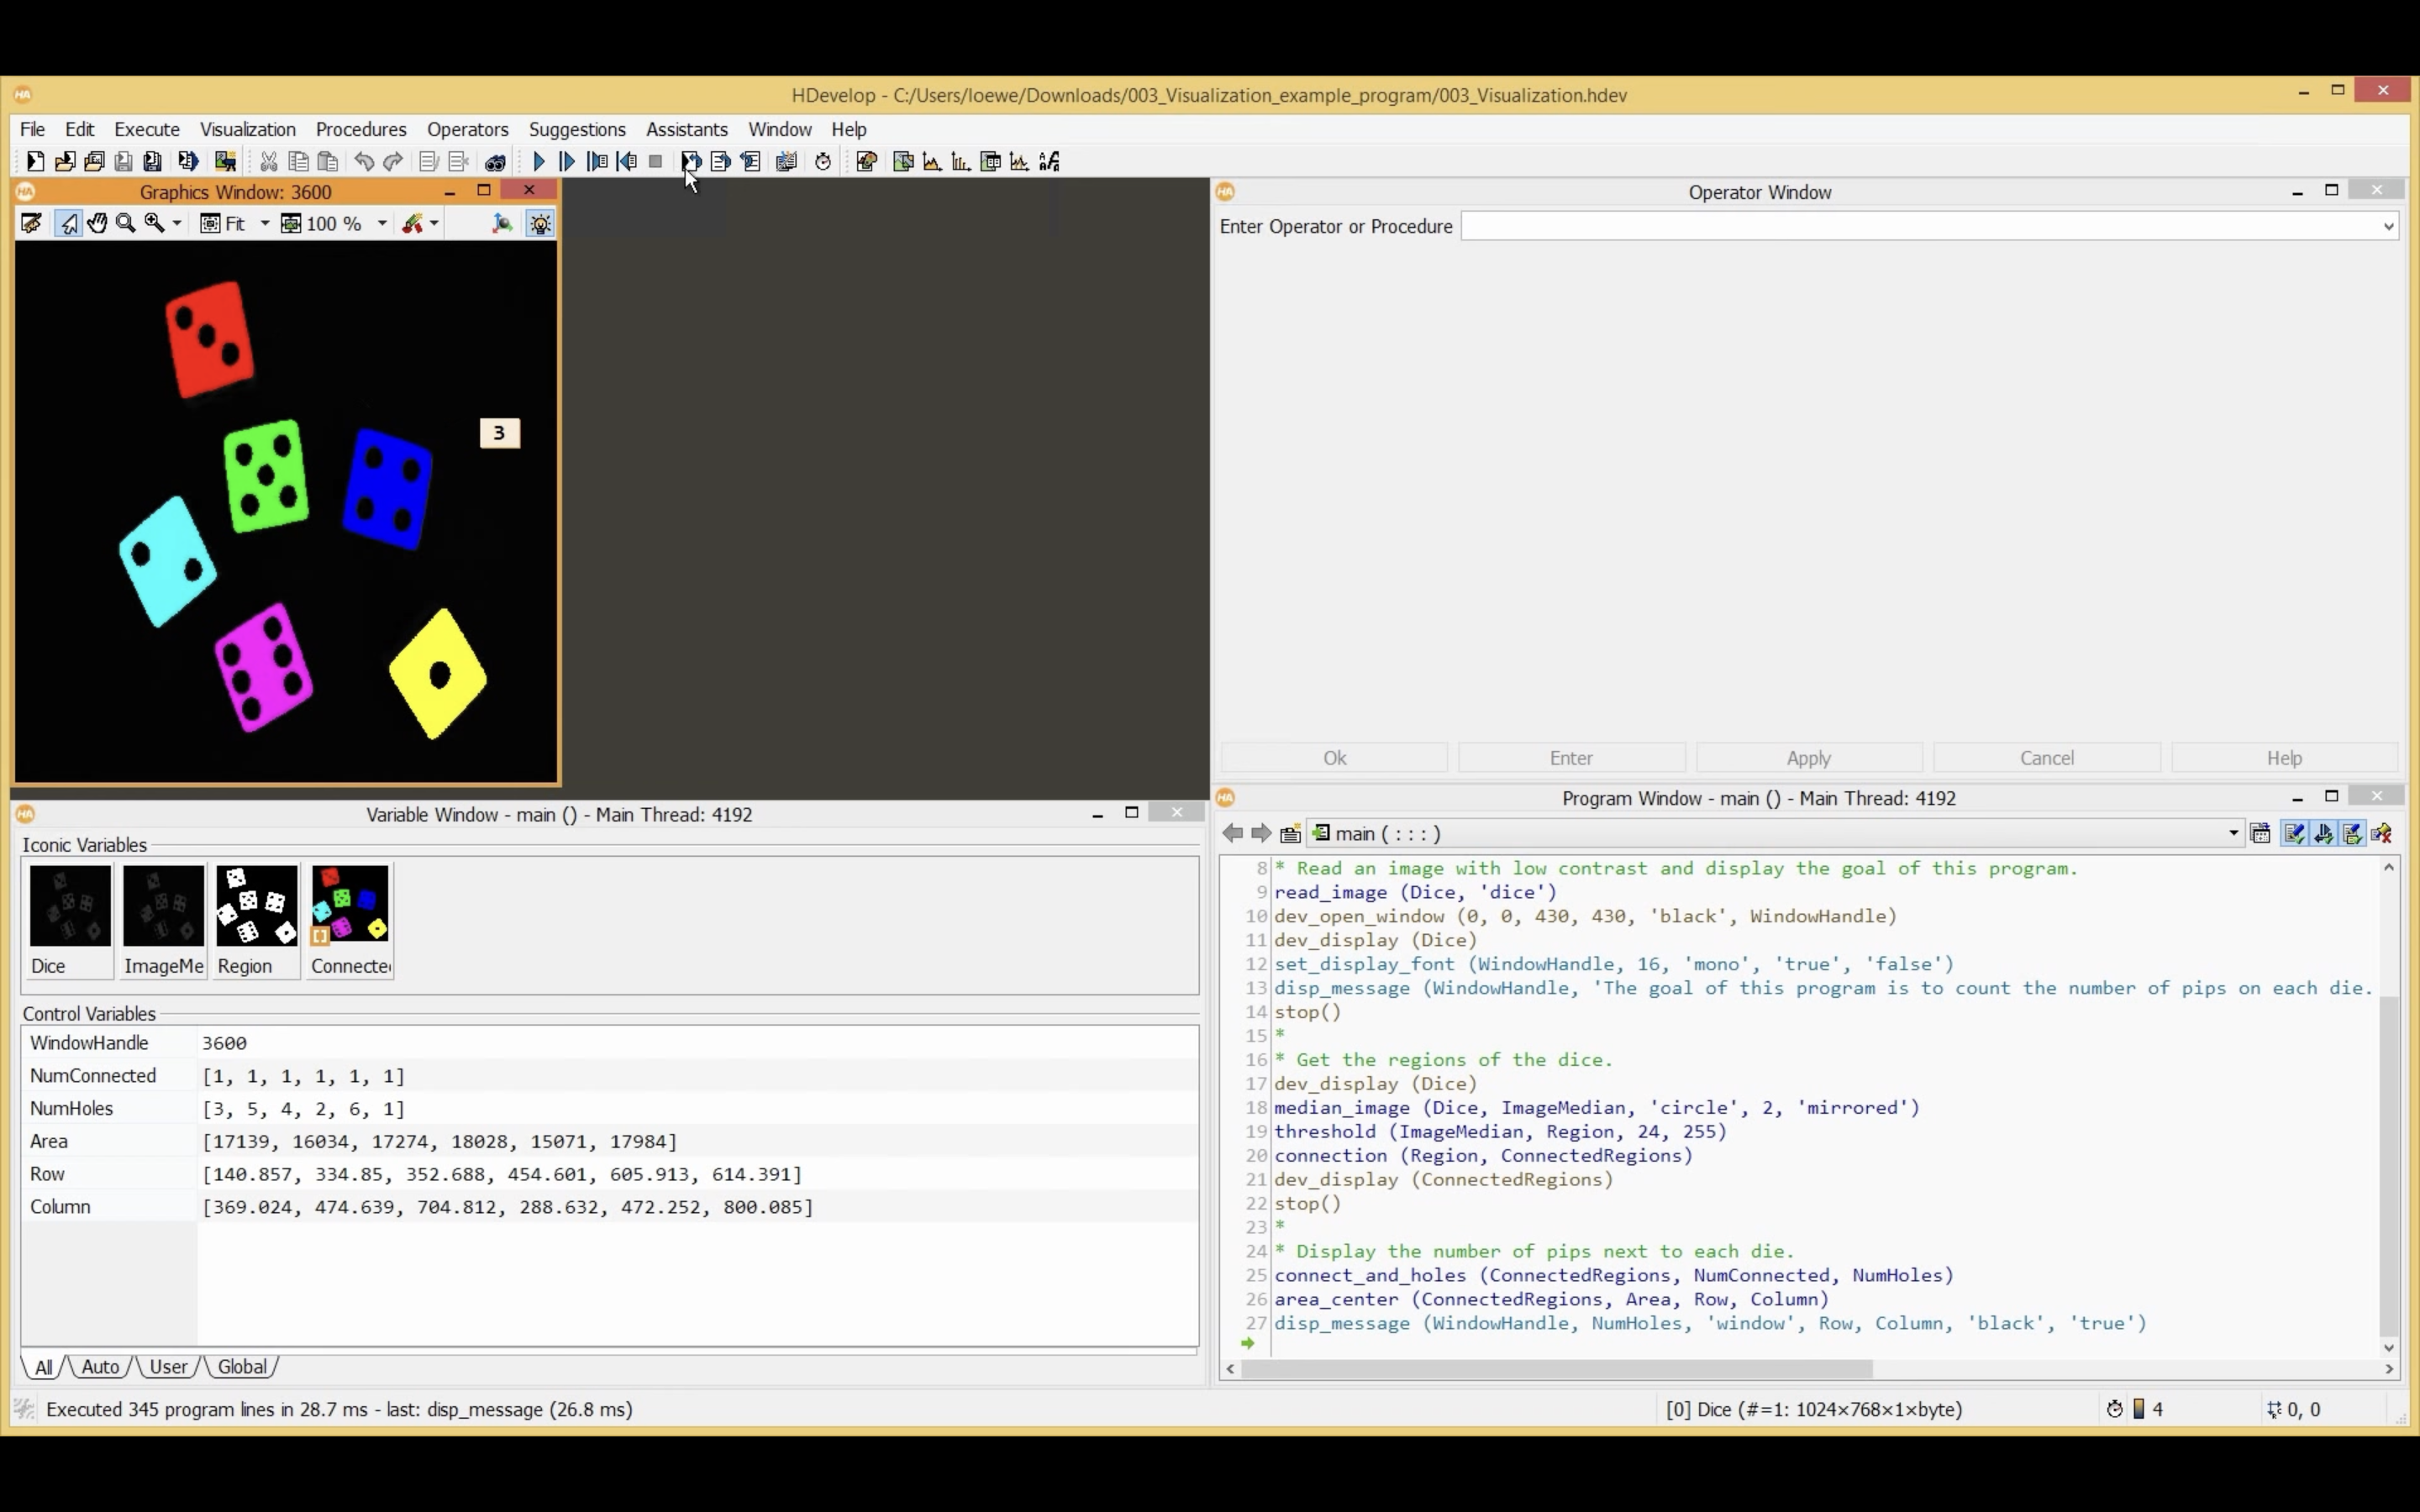

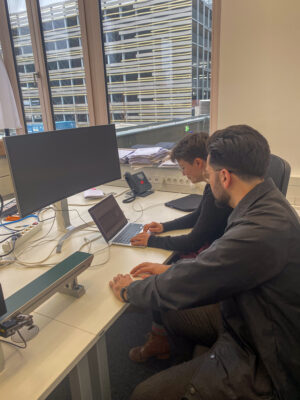
After our meeting, I set to work on the program myself. First I make myself aware of the meaning of the different windows and then decide to upload a photo to the application. But here I encounter difficulties already. I find it difficult to judge which of the taken pictures is well suited to create a test task and therefore have to ask Daniel for help. I had it easier with Maddox AI, because here the software had already made a pre-selection for me and thus the whole first step that I have to take with Halcon is omitted. After Daniel helped me with the selection of the image, I try to program it myself. However, I have to ask Daniel again and again, because the structure of the user interface is irritating for me and I especially struggle with writing my own code. In the end I only manage to do it with a lot of help from Daniel.
My conclusion: Halcon’s operation is much more complex and difficult to understand. Especially for me as a layperson, the user interface is not intuitive. In addition, you have to learn your own programming language and write your own code, which caused some difficulties, especially for me as an absolute programming layperson. With the AI-based system from Maddox AI, the operation was much easier, since I was assigned clear tasks, the software is graphically structured and therefore I actually only had to evaluate different images.
Nevertheless, using an AI-based system does not automatically mean that the user interface is easily accessible for layperson. Again, there are big differences in user-friendliness and programs that are difficult to use. So, if you want to benefit from an intuitive inspection software in your company, get in touch with us. Maddox AI, as I have experienced myself, offers a software for you that even layperson can use.
After comparing ease of use in this episode, I turn to the problem of recalibration in the next episode. In doing so, I will again compare rule-based systems and AI-based systems.
